| Adder | ||||
|---|---|---|---|---|
| ||||
| Enemy Type | Beast | |||
| Size | Large (2) | |||
| Actions per round | ||||
| Stats | ||||
| Variation | Death Adder |
Sinister Adder |
Nightmarish Adder | |
| HP | 45 | 63 | 88 | |
| HP (Stygian/Bloodmoon) | 54 | 76 | 106 | |
| Dodge | 5 | 13.75 | 26.25 | |
| Protection | 20 | 20 | 20 | |
| Speed | 4 | 5 | 6 | |
| None | None | None | ||
| Resistances | ||||
| 50% | 70% | 90% | ||
| 75% | 95% | 115% | ||
| 20% | 40% | 60% | ||
| 40% | 60% | 80% | ||
| 80% | 100% | 120% | ||
| “ | As the firelight fades, ghastly memories gather their strength. | „ |
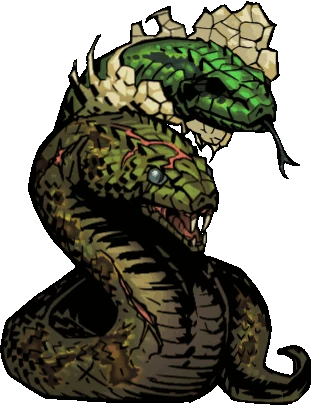
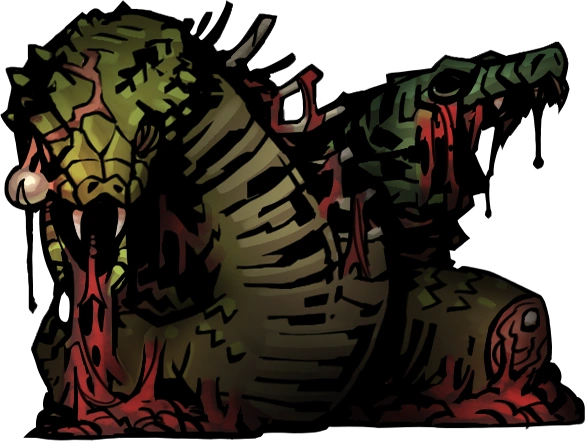
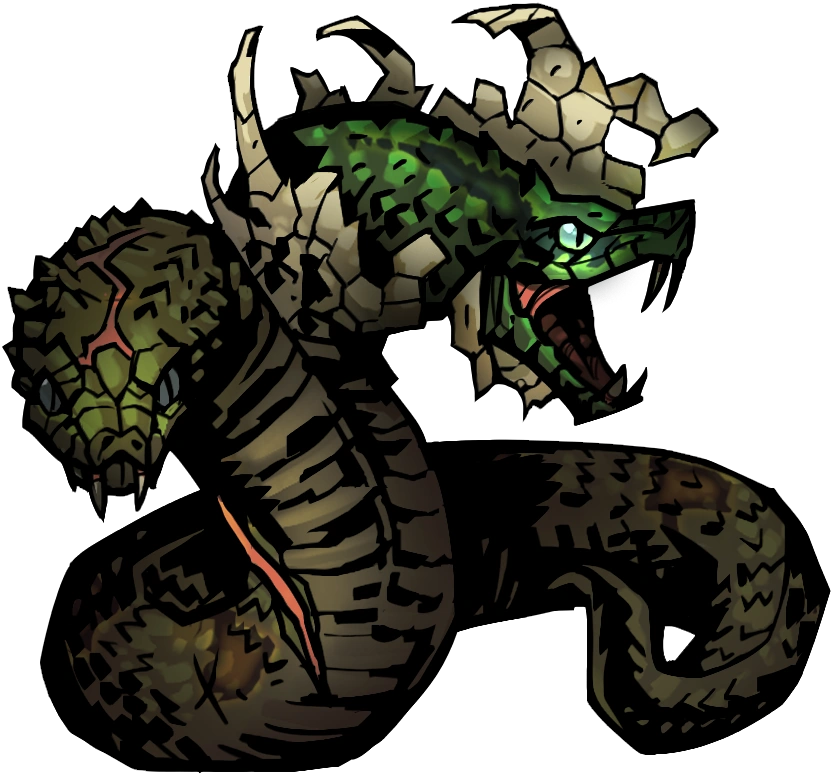
The Adder is a Beast type enemy that appears during the Shieldbreaker's nightmares, or in very rare encounters after all the nightmares have been completed. Hulking, two-headed monsters, Adders are capable of delivering very powerful stuns, significant damage, and prolonged blight, and have the ability to heal themselves while curing any bleed, blight, or debuffs.
Behavior[ | ]
The Adder prioritizes marked targets (2x) and heroes with lower stun (1.5x) or blight resistance (1.5x) for Paralyzing Quills and Adder's Fang, respectively. The blight effect from Adder's Fang lasts for 4 rounds on any difficulty. Its self-healing ability, Molt, has a 1-turn cooldown and has 5x more chance to be used if the Adder's health is below 50% or 20%, and 3x chance to be used if the Adder has bleed or blight on itself.
Strategy[ | ]
Adders have a huge health pool and PROT, and can also heal themselves with Molt, so it is recommended to take out other, weaker enemies before focusing on the Adder—just be conscious of its ability to stun, which could spell disaster for the party at the wrong moment.
On their own, Adders are much less of a threat (even with the high damage of Paralyzing Quills), but will take a long time to kill because of their high health and ability to heal. Blight, bleed, and debuffs are all very ineffective, as Molt will cure them all in addition to healing. Single high-damage attacks, like the Bounty Hunter's Collect Bounty or the Leper's Chop are the most effective way to take down the Adder quickly, and are able to deal damage faster than it can heal. The Shieldbreaker's Pierce skill is also a viable option to ignore the Adder's PROT.
Defeating the group of snakes brings great rewards, as they drop Aegis Scales when they die, as well as a Shieldbreaker-specific trinket and journal pages for the Shieldbreaker's story. The entire party also receives a quest buff for -15% Stress, except for the Shieldbreaker, who receives -33% Stress and +3% CRIT. However, the battle will end if the Shieldbreaker falls on Death's Door, and failing will cause a terrible quest-long debuff on the party instead, granting +33% Stress and -5 ACC for the Shieldbreaker and +15% Stress for all other party members.
Abilities[ | ]
| Apprentice Level | |||||||||
|---|---|---|---|---|---|---|---|---|---|
| Skill Name | Range | Rank | Target | Accuracy | Crit Chance |
Damage | Effect (Target) |
Effect (Self) |
Notes |
| Adder's Fang | Ranged | 1,2,3,4 | 1,2,3,4 | 92.5% | 2% | 2-4 | |||
| Paralyzing Quills | Melee | 1,2,3 | 1,2,3 | 97.5% | 2% | 5-9 | |||
| Molt | Support | 2,3 | Self | ||||||
| Veteran Level | |||||||||
|---|---|---|---|---|---|---|---|---|---|
| Skill Name | Range | Rank | Target | Accuracy | Crit Chance |
Damage | Effect (Target) |
Effect (Self) |
Notes |
| Adder's Fang | Ranged | 1,2,3,4 | 1,2,3,4 | 98.75% | 6% | 3-5 | |||
| Paralyzing Quills | Melee | 1,2,3 | 1,2,3 | 103.75% | 6% | 6-13 | |||
| Molt | Support | 2,3 | Self | ||||||
| Champion Level | |||||||||
|---|---|---|---|---|---|---|---|---|---|
| Skill Name | Range | Rank | Target | Accuracy | Crit Chance |
Damage | Effect (Target) |
Effect (Self) |
Notes |
| Adder's Fang | Ranged | 1,2,3,4 | 1,2,3,4 | 112.5% | 9% | 4-7 | |||
| Paralyzing Quills | Melee | 1,2,3 | 1,2,3 | 117.5% | 9% | 9-17 | |||
| Molt | Support | 2,3 | Self | ||||||
Gallery[ | ]

Adder's combat animation
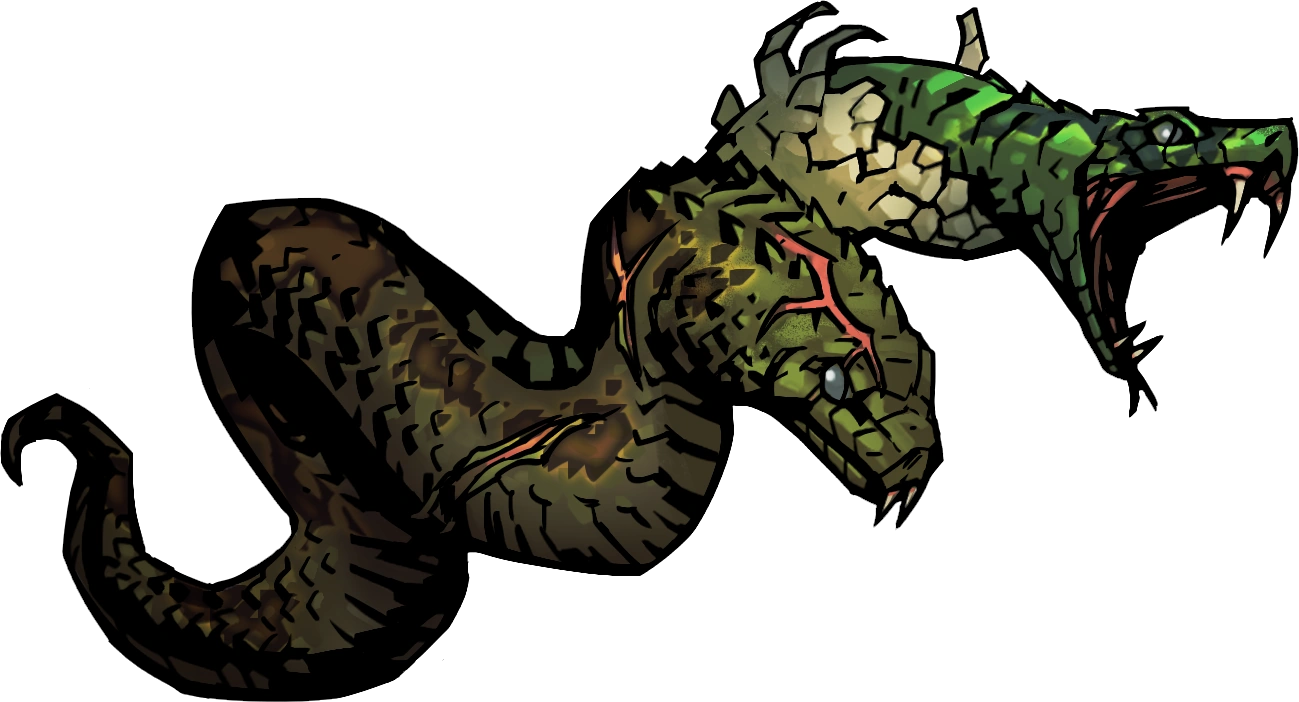
Adder using Adder's Fang
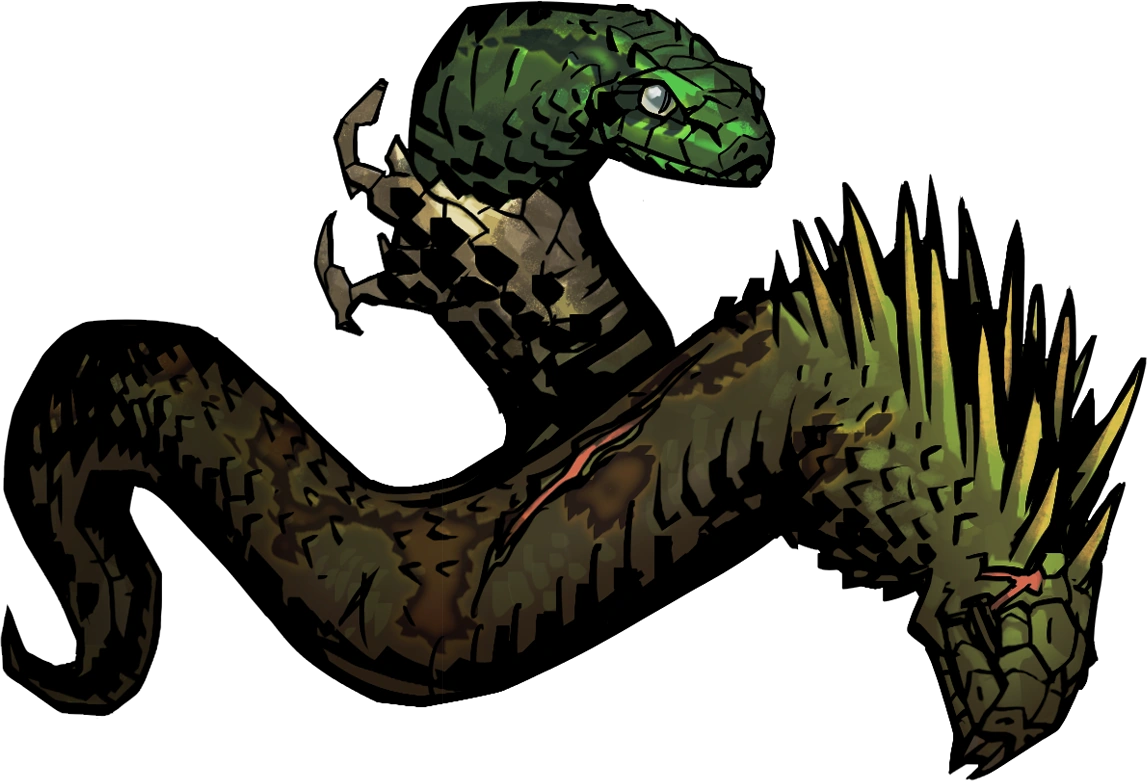
Adder using Paralyzing Quills
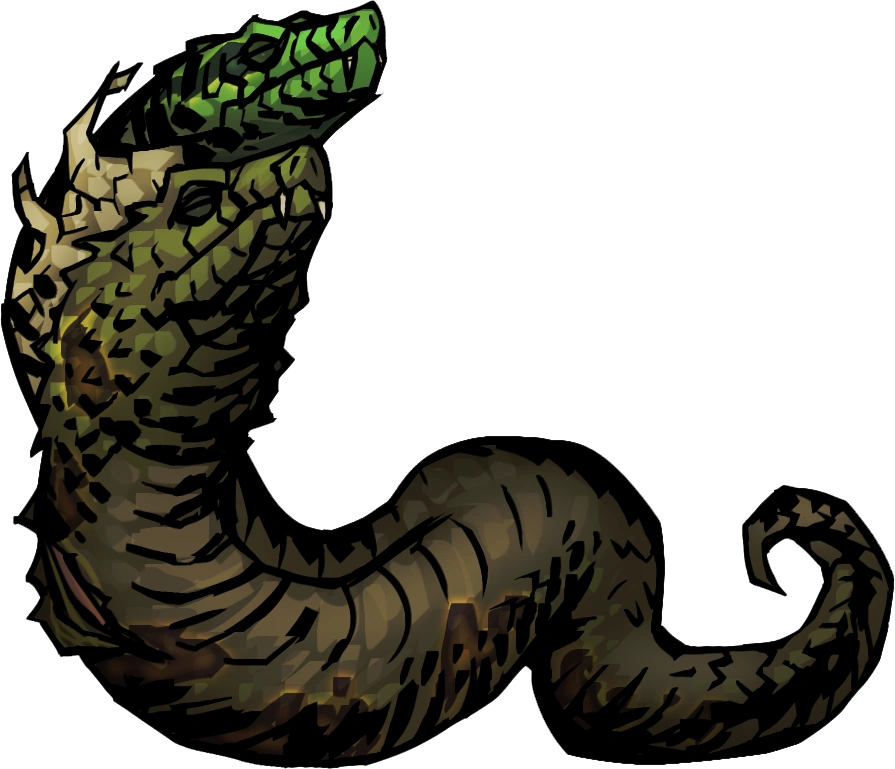
Adder using Molt
Adder defending
Adder's corpse