Wolves at the Door is a unique Mission triggered by the Town Event "Brigand Incursion." It tasks the player with stopping a group of brigands from destroying the Hamlet by killing the brigand leader Vvulf.
Finding the Event[ | ]
Wolves at the Door is a rare town event and has a few conditions must be met before it will appear:
- You must have at least 4 LV5 heroes.
- You must be at week 40 at least.
- The base chance is about 12% (if there is a town event) and will increase by 3% every time a town event takes place, excluding this one.
- The event will not appear again for at least 4 weeks after it appears.
Be warned that if you skip Wolves at the Door, Vvulf will destroy three of your building upgrades. If you fail the quest, you do not lose town upgrades, but the quest is treated like that of the Darkest Dungeon, thus abandoning the quest will randomly kill one of your heroes.
Completing this event will ensure that it will never appear again for the rest of your current playthrough.
The Mission[ | ]


Like the Darkest Dungeon quests, Wolves at the Door has a static map and the mission will always be the same. There are no curios requiring the use of items, so you can save your items exclusively for in-battle use and torches.
Also, bring all the shovels available, as there are a lot of obstacles to clear.
There are seven rooms in this mission. When you begin, you are given a choice to go up/left or up/right. Either room you pick, you will get a choice of going to the side or continuing up. If you go up, you will find Vvulf, while the side path leads to treasure. There is a treasure room in the center too, only accessible through the boss room. It's very likely to find ancestral trinkets in said treasure locations, which makes this errand pretty worth it. It is recommended to go back for the left treasure room after you defeat Vvulf. The map will reveal its shape continuously, just like in the Darkest Dungeon itself. No scouting will be possible.
In addition, there is a Secret Room in the upper-left corridor, within one of the squares. It can be entered by pressing the up arrow or by clicking on the background.
Tactics[ | ]
As with all higher-level dungeons, your heroes will need accuracy boosts to consistently land hits, especially since enemies in this dungeon tend to have high dodge — Sun/Moon Rings are optimal. A lot of the enemies you face here will inflict a huge amount of Stress, so make sure you have ways to heal Stress or mitigate their effects, lest you risk your party getting Afflicted before even reaching Vvulf. Bear in mind that this being a Short quest, you will not be able to Camp to receive buffs or relieve stress.
Bonus damage to humans through quirks, trinkets, or skills will benefit you against every enemy in this dungeon except for the Gnashers and the Barrel O' Bombs. The Bounty Hunter's damage bonus to Humans will definitely shine here.
Vs. Vvulf[ | ]
The potent damage of Vvulf's bombs (>40) is very effectively mitigated through use of the Man-at-Arms' Defender, allowing him to tank the bombs for your entire team while taking much more manageable hits. Support with a Vestal to keep your Man-at-Arms going. It would be ideal to also have damage-dealers that can hit enemy position 3, which is where Vvulf would most likely be, but your short-range characters can still reach him if he uses Tower Shield to guard his minions. If available, the Flagellant is a good asset to the party, as his Redeem restores an enormous amount of health to offset the bombs' damage, and his Endure skill also serves as good stress relief throughout the quest. Avoid relying on the Houndmaster for guarding as the bomb's accuracy is high enough to be essentially undodgeable.
An Occultist's Weakening Curse, a Leper's Intimidate, and similar debuffs can also be used to decrease Vvulf's damage. However, his two actions per turn means that debuffs tend not to stick around, and if you are in a position where a hero has the leisure to continually apply debuffs to Vvulf instead of healing teammates, killing/stunning the brigand mobs, or dealing damage to him, the fight is probably already won. You can, however, take advantage of his numerous actions with Bleeds and Blights, as they will damage him for each action he takes, tearing through his health very quickly.
Assuming that Vvulf's damage has been made trivial with the above tactics, your main concern should be the Brigand Raiders, as they will be the main source of damage. It is usually best to kill, stun, or otherwise disable one Raider per turn, take the hit from the other one, and focus your other actions on damaging Vvulf. Bring plenty of bandages.
The Barrel O' Bombs can be destroyed, which will remove the bomb from your heroes' feet. However, its Riposte will likely wear your heroes down too much for this to be worthwhile, and it does respawn immediately on Vvulf's turn, which makes this more of a stall than a solution.
Remember that like any other boss, this fight is a race. Do not spend any more actions than necessary on healing or stalling, because the damage and stress will eventually catch up to your heroes.
Strategy without Man-at-Arms[ | ]
If you do not have a Man at Arms for this fight, fret not. One perfectly viable team that works quite well is: Vestal, Hellion, Crusader, Leper.
Vestal: Dual healing trinkets to help sustain the group. Good group healing.
Hellion and Crusader can switch places via Breakthrough and Holy Lance in the event the bomb lands on either position where one might be too low on health to take the hit. Crusader is great for handling stress prior to the boss fight itself. You do indeed want some form of stress heal as you don't want to be at high stress for the boss fight.
Hellion: Adrenaline Rush on your Hellion makes it so your Hellion can recover from Death's Door by herself while clearing any Bleed/Blight. Similarly, Crusader with Battle-Heal and/or Inspiring Cry can achieve the same thing.
Leper: Extremely handy for handling pre boss fight stress. Also has a potent self-heal which takes some load off your Vestal. Leper also does great damage to the boss, usually as result of hitting ranks 1,2 that the boss will usually be guarding.
Conclusion: Having a group where each hero has their own self-heal is great at denying Death's Door, and is particularly useful for this specific boss. Overall the group has extremely solid stress-heal capability in addition to healing. Limiting stress prior to the fight is quite literally half the battle. I strongly recommend giving ACC, PROT and Max HP trinkets to all but your Vestal. It should mean that everyone bar the Vestal can take at least two bomb blasts before reaching DD. It should also mean your Leper and Crusader can actually take a bomb critical hit without reaching DD, provided they are near max HP and have fully upgraded armour. I did this fight for the first time today with this group and nobody even reached 50 stress. I was then free to loot and pillage the entire map. Despite dealing with multiple stress-heavy fights thereafter, nobody had reached 100 stress.
Enemies[ | ]
Unlike other areas of the game, the town event has a unique listing of creatures and will only have these enemies during the mission. Additionally, there are enemies from several variants, so you will run into both Brigand Cutthroats and Outlaw Cutthroats together (the apprentice and veteran variants respectively).
Here is the list of the enemies that appear in "Wolves at the Door;"
| Enemies found during Wolves at the Door | ||||||||||||
|---|---|---|---|---|---|---|---|---|---|---|---|---|
| Enemy | Monster | HP | DODGE | PROT | SPD | Type | Stun Resist | Blight Resist | Bleed Resist | Debuff Resist | Move Resist | Abilities |
| Brigand Cutthroat | 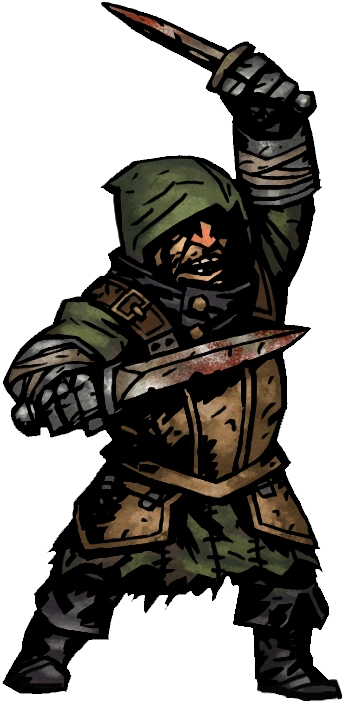
|
12 | 2.5 | 15% | 3 | HUMAN | 25% | 20% | 20% | 15% | 25% | "Shank" "Slice and Dice" "Uppercut Slice" "Harmless Poke" |
| Outlaw Cutthroat |
|
19 | 13 | 24% | 4 | HUMAN | 45% | 40% | 40% | 40% | 45% | "Shank" "Slice and Dice" "Uppercut Slice" "Harmless Poke" |
| Brigand Raider | 
|
25 | 26 | 25% | 5 | HUMAN | 73% | 68% | 68% | 63% | 73% | "Shank" "Slice and Dice" "Uppercut Slice" "Harmless Poke" |
| Brigand Fusilier | 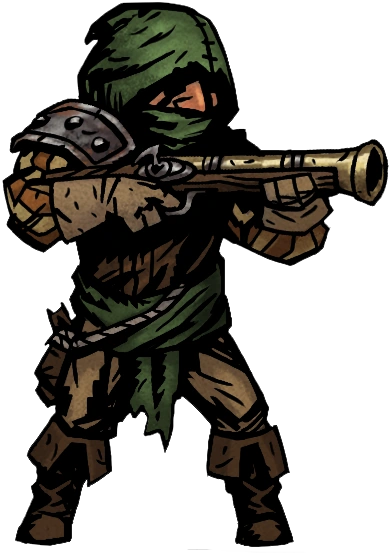
|
12 | 7.5 | 0% | 6 | HUMAN | 25% | 20% | 20% | 15% | 25% | "Blanket Fire" "Rushed Shot" |
| Outlaw Fusilier |
|
19 | 18 | 0% | 7 | HUMAN | 45% | 40% | 40% | 35% | 45% | "Blanket Fire" "Rushed Shot" |
| Brigand Hunter | 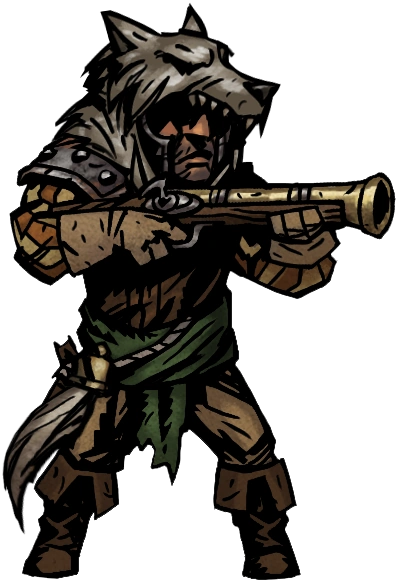
|
25 | 31 | 0% | 8 | HUMAN | 73% | 68% | 68% | 63% | 73% | "Blanket Fire" "Rushed Shot" |
| Infamous Bloodletter | 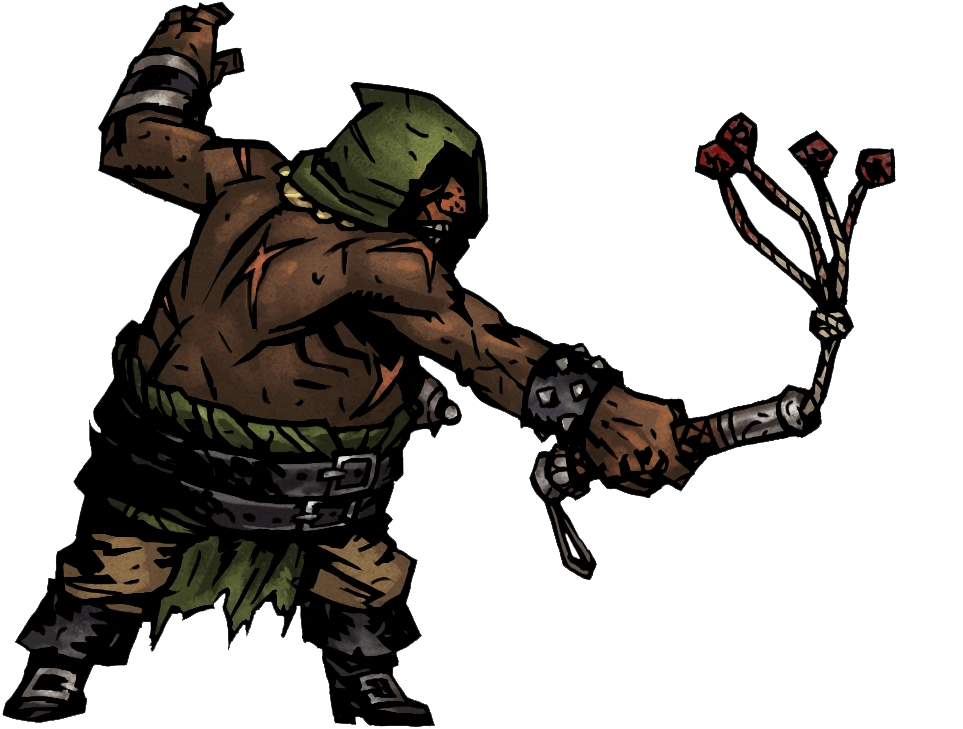
|
72 | 23 | 0% | 3 | HUMAN | 95% | 65% | 65% | 65% | 120% | "Point Blank Shot" "Punishment" "Rain of Whips" |
| Rabid Gnasher | 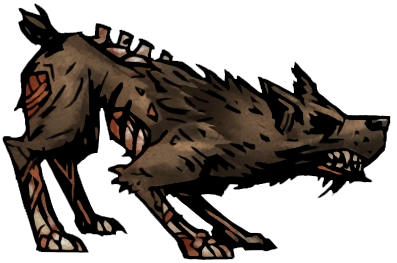
|
10 | 15 | 0% | 8 | BEAST | 10% | 60% | 20% | 10% | 10% | "Rabid Rush" |
| Harrying Gnasher |
|
21 | 38 | 0% | 10 | BEAST | 55% | 105% | 65% | 55% | 55% | "Rabid Rush" |
| Raving Madman | 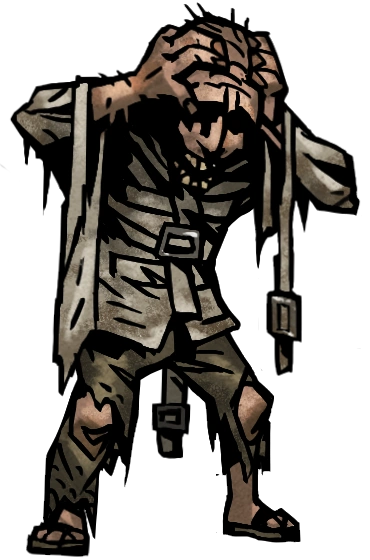
|
30 | 43 | 0% | 11 | HUMAN | 70% | 65% | 65% | 65% | 70% | "Accusation" "Doomsay" |
| Brigand Vvulf | 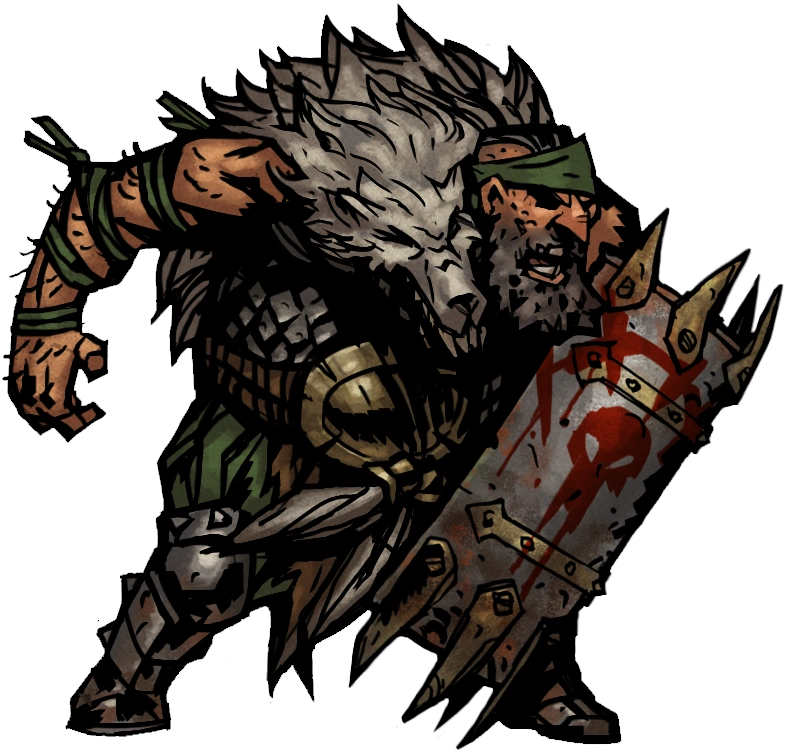
|
160 | 25 | 0% | 4 | HUMAN | 100% | 75% | 75% | 60% | 300% | "Bombs Away" "Time's Up!" |
| Barrel O' Bombs | 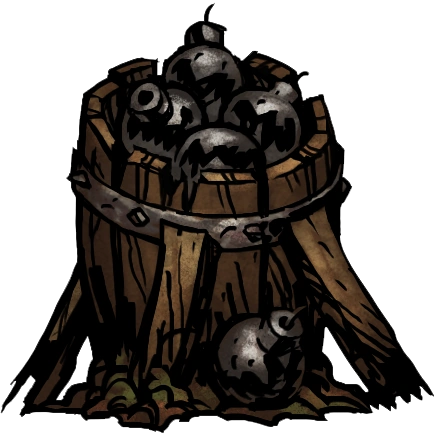
|
25 | 0 | 0% | 0 | CARPENTRY | 200% | 200% | 200% | 200% | 200% | None, but always has Riposte |